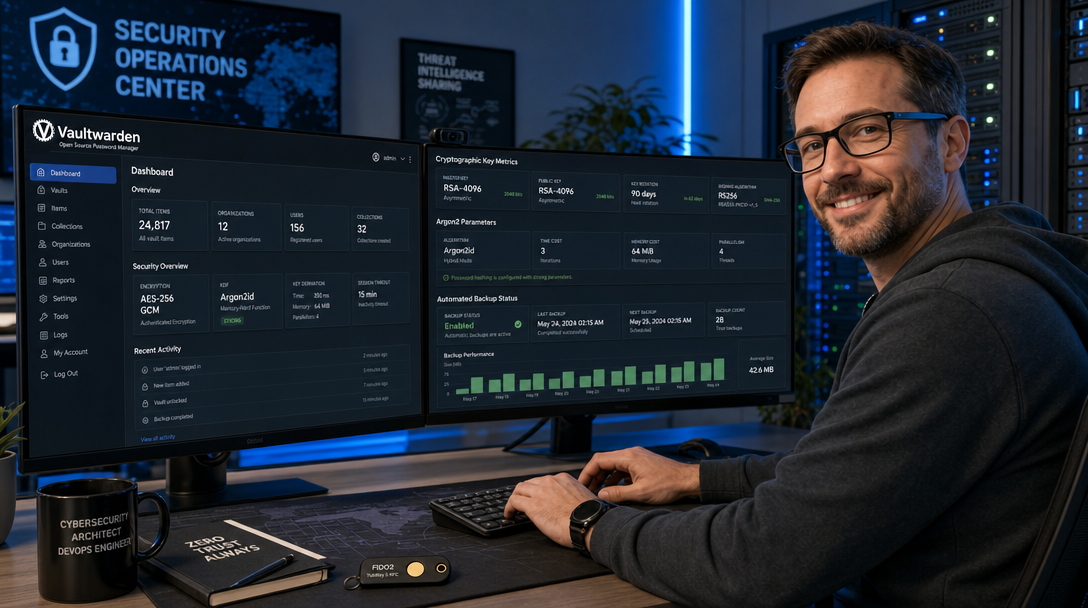
Password security is the fundamental bedrock of modern digital defense. Relying on commercial proprietary password managers exposes your organization or household to cloud outage risks, sudden subscription hikes, and alarming supply-chain breaches. While Bitwarden is open-source and provides end-to-end zero-knowledge encryption, deploying the official upstream server stack is a heavy burden: it requires a dozen interconnected Docker containers written in .NET, an external Microsoft SQL Server database, and at least 3 to 4 GB of dedicated RAM just to idle.
Vaultwarden (formerly known as Bitwarden_RS) completely redefines self-hosted secrets management. Written in Rust, Vaultwarden is an alternative lightweight backend fully compatible with all official Bitwarden client applications—including browser extensions (Chrome, Firefox, Safari), mobile apps (iOS, Android), desktop applications (Linux, macOS, Windows), and automation CLIs. Consuming less than 50 MB of RAM, it runs effortlessly on modest cloud VPS instances, home server clusters, or edge Raspberry Pi hardware.
In this production guide, we will deploy a hardened, self-hosted Vaultwarden vault using Docker Compose, configure Caddy for automatic Let’s Encrypt TLS termination and WebSocket live-sync notifications, enforce cryptographic Argon2id master authentication, and implement non-disruptive, consistent online database backups.
Architecture Blueprint: Zero-Knowledge Secrets Pipeline
Vaultwarden preserves Bitwarden’s zero-knowledge cryptographic guarantee: master passwords never leave client devices, and encryption keys are derived locally using PBKDF2 or Argon2id. The server merely stores encrypted blobs (AES-CBC 256-bit with HMAC-SHA256 integrity checks).
+---------------------------------------------------------------------------------+
|                              Client Layer (Encrypted)                           |
|   [ Browser Extensions ]    [ Mobile Apps (iOS/Android) ]    [ Bitwarden CLI ]  |
+---------------------------------------------------------------------------------+
                                      |
                         Encrypted HTTPS (TLS 1.3)
                         & WebSocket Live Sync
                                      v
+---------------------------------------------------------------------------------+
|                       Caddy Reverse Proxy & Gateway                             |
|                                                                                 |
|   - Automatic Let's Encrypt / ZeroSSL TLS                                       |
|   - HTTP/2 & HTTP/3 Multiplexing                                                |
|   - Strict Security Headers (HSTS, CSP, Frame Denial)                           |
|                                                                                 |
|         / (Standard REST API)               /notifications/hub (WebSocket)      |
+---------------------------------------------------------------------------------+
                  |                                             |
                  v                                             v
+---------------------------------------------------------------------------------+
|                         Vaultwarden Core (Docker)                               |
|                                                                                 |
|   +------------------------------------+  +---------------------------------+   |
|   |         Rocket Web Server          |  |       WebSocket Push Hub        |   |
|   |   (Port 80 - REST & Admin Panel)   |  |   (Port 3012 - Live Sync Push)  |   |
|   +------------------------------------+  +---------------------------------+   |
|                                      |                                          |
|                                      v                                          |
|                       +-------------------------------+                         |
|                       |   SQLite Database (WAL Mode)  |                         |
|                       |   - /data/db.sqlite3          |                         |
|                       |   - /data/attachments         |                         |
|                       |   - /data/rsa_key.pem         |                         |
|                       +-------------------------------+                         |
+---------------------------------------------------------------------------------+
                                      |
                                      v
                      +-------------------------------+
                      |   Automated Online Backups    |
                      |   - sqlite3 .backup API       |
                      |   - Restic / S3 Encrypted Offsite
                      +-------------------------------+
Prerequisites & Hardware Sizing
Because Vaultwarden is written in native Rust, system resource consumption is remarkably low:
- Compute: 1 vCPU (x86_64 or ARM64) is sufficient to serve dozens of active users and hundreds of secrets.
- Memory: 512 MB host RAM minimum (Vaultwarden idles at ~30 MB; Caddy idles at ~25 MB).
- Storage: 10 GB SSD space (adequate for databases, cryptographic salts, icon caches, and small file attachments).
- Domain: A public DNS record (e.g.,
vault.yourdomain.com) pointing to your host’s public IP address. Bitwarden clients strictly mandate valid HTTPS certificates and will refuse to synchronize over unencrypted HTTP.
Step 1: Directory Setup & Argon2 Token Hashing
Create a dedicated deployment directory under /opt/vaultwarden:
sudo mkdir -p /opt/vaultwarden/{vw-data,backup}
cd /opt/vaultwarden
Vaultwarden features an administrative portal (/admin) where you can manage user registrations, audit logs, and organization settings. In earlier versions, this was secured by a plaintext token. Modern security standards demand a salted Argon2id hash to prevent brute-force attacks.
Generate a secure Argon2 hash directly using Vaultwarden’s built-in hashing utility inside a temporary container:
docker run --rm -it vaultwarden/server:latest /vaultwarden hashType a strong administrative passphrase when prompted. The output will resemble:
$argon2id$v=19$m=65536,t=3,p=4$qN8kL...$w7R9...Important Note for Docker Compose: Because Docker Compose interprets single dollar signs ($) as environment variable substitutions, every $ in the generated Argon2 string must be escaped with double dollar signs ($$) when placed inside docker-compose.yml.
Step 2: Environment Configuration (.env)
Store your operational variables, SMTP notification parameters, and security policies in a centralized .env file:
# /opt/vaultwarden/.env

# Domain and Routing
DOMAIN=https://vault.yourdomain.com

# Registration & Security Controls
SIGNUPS_ALLOWED=false
INVITATIONS_ALLOWED=true
SHOW_PASSWORD_HINT=false
PASSWORD_ITERATIONS=600000

# WebSocket Real-Time Synchronization
WEBSOCKET_ENABLED=true
WEBSOCKET_ADDRESS=0.0.0.0
WEBSOCKET_PORT=3012

# Database & Performance Tuning
DATA_FOLDER=/data
DATABASE_MAX_CONNS=10
TRASH_AUTO_DELETE_DAYS=30

# Emergency Kit & Attachments
ATTACHMENT_SIZE_LIMIT=20971520
SENDS_ALLOWED=true
Step 3: Creating the Production Docker Compose Stack
Create docker-compose.yml. We configure Vaultwarden alongside Caddy on a private isolated Docker bridge network:
services:
  vaultwarden:
    image: vaultwarden/server:latest
    container_name: vaultwarden-core
    restart: unless-stopped
    env_file:
      - .env
    environment:
      # Paste your escaped Argon2 hash below (replace single $ with $$)
      - ADMIN_TOKEN=$$argon2id$$v=19$$m=65536,t=3,p=4$$c29tZXNhbHQ$$dGVzdHBhc3M
    volumes:
      - ./vw-data:/data
    networks:
      - vault-net
    healthcheck:
      test: ["CMD", "curl", "-f", "http://localhost:80/alive"]
      interval: 15s
      timeout: 5s
      retries: 3

  caddy:
    image: caddy:2.8-alpine
    container_name: vaultwarden-caddy
    restart: unless-stopped
    ports:
      - "80:80"
      - "443:443"
    volumes:
      - ./Caddyfile:/etc/caddy/Caddyfile:ro
      - ./caddy_data:/data
      - ./caddy_config:/config
    networks:
      - vault-net
    depends_on:
      vaultwarden:
        condition: service_healthy

networks:
  vault-net:
    driver: bridge
Step 4: Configuring Caddy with WebSocket Routing & HSTS
When you update a password in a browser extension, WebSocket notifications instantly alert your smartphone and desktop apps to synchronize without waiting for manual polling. In Vaultwarden, REST traffic flows on port 80 while WebSocket notifications route through port 3012 under the path /notifications/hub.
Create /opt/vaultwarden/Caddyfile with accurate path matching and enterprise security headers:
vault.yourdomain.com {
    encode zstd gzip

    # Route WebSocket notifications directly to the WebSocket push engine
    reverse_proxy /notifications/hub vaultwarden-core:3012

    # Route general REST API and web vault requests to the Rocket webserver
    reverse_proxy vaultwarden-core:80 {
        header_up Host {upstream_hostport}
        header_up X-Real-IP {remote_host}
        header_up X-Forwarded-For {remote_host}
        header_up X-Forwarded-Proto {scheme}
    }

    # Enterprise-grade Security Headers
    header {
        Strict-Transport-Security "max-age=31536000; includeSubDomains; preload"
        X-Content-Type-Options "nosniff"
        X-Frame-Options "DENY"
        X-XSS-Protection "1; mode=block"
        Referrer-Policy "same-origin"
    }
}
Step 5: Initializing the Vault & Onboarding Users
Launch the containers in detached mode:
docker compose up -dVerify that Caddy provisions your TLS certificate and connects to the Vaultwarden backend:
docker compose logs -f caddyBecause we set SIGNUPS_ALLOWED=false for security, open your browser and navigate to the admin portal at https://vault.yourdomain.com/admin. Enter your master administrative passphrase to authenticate.
Under the Users tab, enter your personal or team email addresses to send registration invitations. Invited users receive an enrollment link allowing them to create their zero-knowledge master password while keeping public registration completely closed to unauthorized internet bots.
Hardening & Multi-Factor Authentication (MFA / FIDO2)
Once your account is created, immediately bolster account security inside Account Settings > Security > Two-Step Login:
- FIDO2 WebAuthn / Passkeys: Configure physical security keys (such as YubiKeys) or platform authenticators (Touch ID, Windows Hello). This renders phishing attacks mathematically impossible.
- Authenticator App (TOTP): Add standard RFC 6238 TOTP tokens as an alternative second factor.
- Emergency Access: In organizational environments, designate trusted contacts who can request access to your vault after an enforced waiting period (e.g., 7 days) in case of critical disaster recovery.
- Password Iteration Hardening: Upgrade client KDF settings from legacy PBKDF2 to Argon2id (Memory: 64 MB, Iterations: 3, Parallelism: 4) under Settings > Security > Master Password.
Automated Online Database Backups (Zero Lock Contention)
SQLite operates in Write-Ahead Logging (WAL) mode in modern Vaultwarden deployments. If you perform a naïve file copy (cp db.sqlite3 backup.sqlite3) while a user is actively writing or updating an entry, the resulting file can suffer from torn pages and silent corruption.
The safe, non-disruptive method is invoking SQLite’s official online backup API via sqlite3 .backup, which locks pages gracefully without interrupting running client operations.
Create the automated backup script at /usr/local/bin/backup-vaultwarden.sh:
#!/usr/bin/env bash
set -euo pipefail

BACKUP_ROOT="/opt/vaultwarden/backup"
TIMESTAMP=$(date +"%Y%m%d_%H%M%S")
DEST_DIR="${BACKUP_ROOT}/${TIMESTAMP}"
mkdir -p "${DEST_DIR}"

echo "[+] Creating consistent SQLite snapshot..."
docker compose -f /opt/vaultwarden/docker-compose.yml exec -T vaultwarden \
    sqlite3 /data/db.sqlite3 ".backup '/data/db_backup.sqlite3'"

echo "[+] Moving snapshot and attachments..."
mv /opt/vaultwarden/vw-data/db_backup.sqlite3 "${DEST_DIR}/db.sqlite3"
cp -r /opt/vaultwarden/vw-data/attachments "${DEST_DIR}/" 2>/dev/null || true
cp /opt/vaultwarden/vw-data/rsa_key* "${DEST_DIR}/" 2>/dev/null || true

echo "[+] Compressing archive..."
tar -czf "${BACKUP_ROOT}/vaultwarden_backup_${TIMESTAMP}.tar.gz" -C "${BACKUP_ROOT}" "${TIMESTAMP}"
rm -rf "${DEST_DIR}"

# Retain only the last 14 days of backups
find "${BACKUP_ROOT}" -name "vaultwarden_backup_*.tar.gz" -type f -mtime +14 -delete

echo "[+] Backup successfully completed: ${BACKUP_ROOT}/vaultwarden_backup_${TIMESTAMP}.tar.gz"
Make the script executable and schedule it as a daily root cronjob via sudo crontab -e:
0 2 * * * /usr/local/bin/backup-vaultwarden.sh >> /var/log/vaultwarden-backup.log 2>&1Troubleshooting Common Deployment Issues
1. Real-Time Push Sync Fails (WebSocket Error)
Symptom: Modifying a password on a laptop does not update your mobile phone until you manually swipe down to refresh the vault.
Cause: Caddy is proxying all traffic to port 80 without intercepting WebSocket requests destined for /notifications/hub on port 3012.
Solution: Verify that WEBSOCKET_ENABLED=true is set in .env and confirm your Caddyfile has the dedicated line: reverse_proxy /notifications/hub vaultwarden-core:3012 placed before the general reverse_proxy vaultwarden-core:80 directive.
2. Admin Token Login Fails with “Invalid Token”
Symptom: You paste your generated Argon2 hash into docker-compose.yml, but entering the master password at /admin returns authentication failure.
Cause: Docker Compose stripped the dollar signs ($) from the hash during container variable interpolation, mutating the cryptographic digest into an invalid string.
Solution: Open docker-compose.yml and replace every occurrence of $ with $$. Inspect the running container’s environment with docker compose exec vaultwarden env | grep ADMIN_TOKEN to verify that the single dollar signs appear correctly inside the container runtime.
3. Mobile Application Refuses Connection
Symptom: The iOS or Android Bitwarden client displays An error has occurred: Failed to fetch when saving your custom server URL.
Cause: Bitwarden clients enforce strict TLS validation and reject untrusted or self-signed certificates, unencrypted HTTP URLs, or broken certificate trust chains.
Solution: Always input the full URL with the HTTPS protocol: https://vault.yourdomain.com (never http:// or bare IP addresses). Confirm that Caddy has successfully obtained a publicly trusted certificate from Let’s Encrypt or ZeroSSL.
Conclusion
By coupling Vaultwarden with Docker Compose and Caddy, you achieve the pinnacle of private infrastructure: an enterprise-grade, zero-knowledge password vault that consumes trivial host resources while offering total platform compatibility. Your family, engineering team, or homelab gains seamless access to passwords, passkeys, secure notes, and multi-factor authenticators without surrendering sensitive credentials to commercial cloud vendors. Backed by automated SQLite snapshots and strict TLS hardening, your credentials remain sovereign, secure, and always accessible.

Hi, I’m Mark, the author of Clever IT Solutions: Mastering Technology for Success. I am passionate about empowering individuals to navigate the ever-changing world of information technology. With years of experience in the industry, I have honed my skills and knowledge to share with you. At Clever IT Solutions, we are dedicated to teaching you how to tackle any IT challenge, helping you stay ahead in today’s digital world. From troubleshooting common issues to mastering complex technologies, I am here to guide you every step of the way. Join me on this journey as we unlock the secrets to IT success.