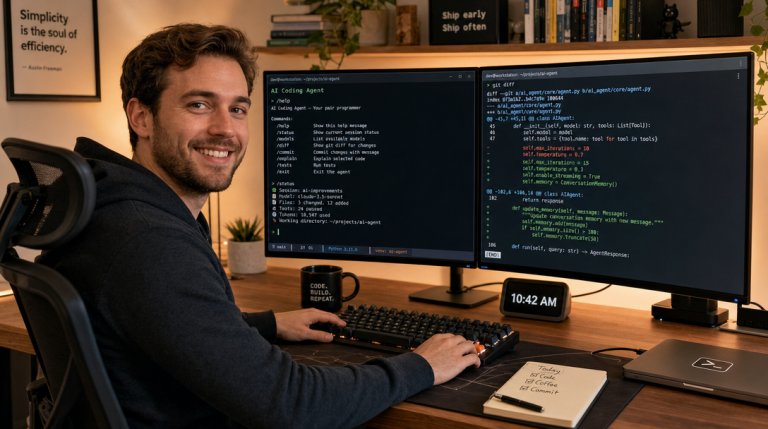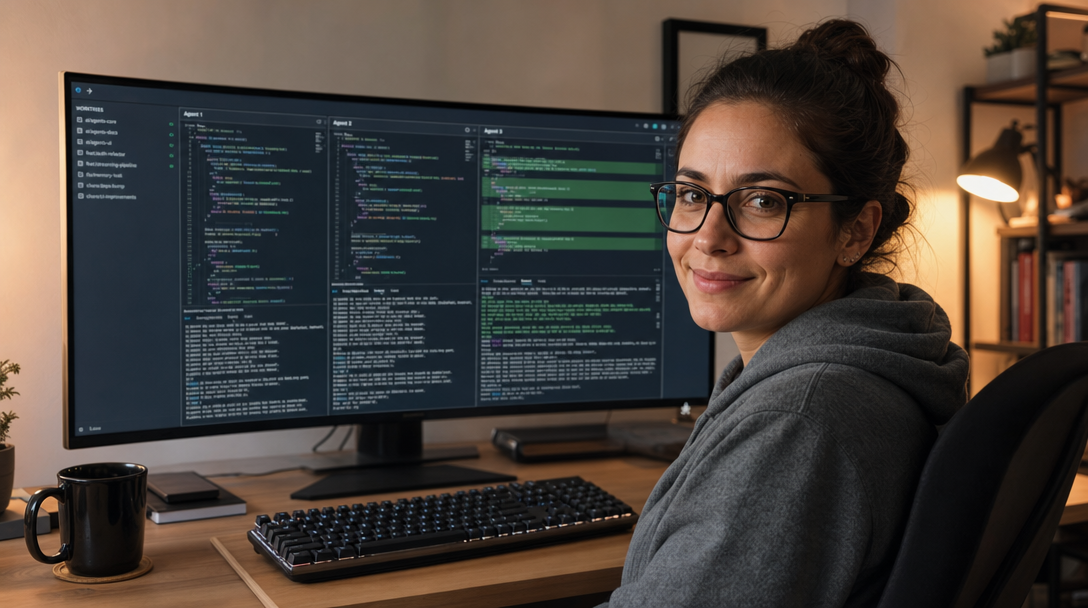
Orca IDE is a free, open-source desktop app that runs several AI coding agents side by side, each in its own git worktree, terminal and browser tab. You install it, add a git repository and start Claude Code, Codex or another CLI agent on separate tasks without them overwriting each other’s files. This guide covers installation on Windows, macOS and Linux, your first parallel agents, the orca command line and the permission settings to check before real work.
What Orca Is (and What It Is Not)
Orca is built by Stably AI and released under the MIT license. As of November 7, 2026 the GitHub repository has more than 118,000 stars, and new versions ship several times a week. The vendor calls it an “agent development environment”:
- Not a model. Orca brings no AI of its own. You use your existing subscriptions, for example Claude Code or Codex.
- Not a git replacement. Every task is a real git worktree on its own branch.
- Agent-agnostic. The homepage lists 27 supported agents, including Claude Code, Codex, Gemini, GitHub Copilot, Cursor, OpenCode and Amp. Any agent that runs in a terminal works.
Prerequisites
- Windows 10/11 x64, macOS (Apple Silicon or Intel) or Linux
- git installed and a local git repository
- At least one coding agent installed and signed in, e.g. Claude Code or Codex
Step 1: Install Orca
Download the installer from onorca.dev/download or from the GitHub releases page. On Windows, run orca-windows-setup.exe. On macOS, use the DMG or Homebrew. Use the full cask name; plain orca is an unrelated package:
brew install --cask stablyai/orca/orcaOn Arch Linux, install from the AUR. Other distributions use the AppImage (self-updating) or the .deb/.rpm packages:
yay -S stably-orca-binOn first launch Orca asks for access to your home directory and offers to import settings from ~/.claude, ~/.codex and Ghostty.
Step 2: Set Agent Permissions Before Anything Else
Open Settings → Agents and pick a permission mode for new sessions:
| Mode | Behavior | Use it for |
|---|---|---|
| Manual | The agent asks before every action | First tests, sensitive repositories |
| Auto | Supported agents (Claude, Codex) approve routine actions themselves | Day-to-day work |
| Yolo | No confirmation prompts | Throwaway sandboxes only |
The documentation does not clearly state the default mode, so check it instead of assuming. Also note that Trust the folder when Orca starts an agent is on by default: agents launched by Orca skip their “Do you trust this folder?” prompt.
Step 3: Add a Repository and Start Parallel Agents
In the app, add your repository from the landing screen, then create one worktree per task. Each worktree gets its own branch, agent terminal and browser tab. The same works from the bundled CLI (on Linux the binary is orca-ide):
# Register the repository
orca repo add --path ~/projects/myapp

# Task 1: Claude Code fixes a bug in its own worktree
orca worktree create --repo path:~/projects/myapp --name fix-login-timeout \
  --agent claude --prompt "Fix the login timeout described in issue 42"

# Task 2: Codex writes tests in parallel
orca worktree create --repo path:~/projects/myapp --name add-api-tests \
  --agent codex --prompt "Add integration tests for the /orders API"
Use --surface chat or --surface terminal to choose between Orca’s chat UI and the raw agent CLI. You can move a conversation between the two later.
Step 4: Watch, Review and Merge
The sidebar shows which agent is working, waiting for input or done. From the terminal you get a compact summary across all worktrees:
orca worktree psOpen a worktree’s diff to review changes. You can attach notes to exact changed lines and send them back to the agent as focused feedback. When the result is good, let Orca draft the commit message and pull request, or merge as usual with git.
Step 5: Orchestration and Automations
For larger tasks, hand the job to one agent and let it split the work: it starts worker agents in their own worktrees and collects their results. Recurring jobs run as automations, for example a weekly dependency check:
orca automations create --name weekly-deps --trigger "0 6 * * 1" \
  --provider claude --repo path:~/projects/myapp \
  --prompt "Check for outdated dependencies and open a PR with safe updates"
Run orca automations create --help to see the trigger presets your version supports.
Useful Orca CLI Commands
The CLI is the same interface Orca’s own agents use, so it is worth knowing the core commands. The table reflects orca --help in version 1.4.251; run orca <command> --help for all flags.
| Command | What it does |
|---|---|
orca status |
Shows whether the app and runtime are reachable |
orca open |
Launches Orca and waits until the runtime is ready |
orca repo list |
Lists repositories registered in Orca |
orca worktree list |
Lists Orca-managed worktrees |
orca worktree rm |
Removes a worktree from Orca and git |
orca agent launch --agent claude |
Starts an agent in an existing worktree |
orca terminal read |
Reads bounded output from a live agent terminal |
orca automations run |
Runs a scheduled automation immediately |
orca search |
Full-text search across agent sessions on the host |
If a command reports that Orca is not running, start the app with orca open and retry. Add --json to any command when you script it or let an agent parse the result.
Privacy and Telemetry
According to the vendor, Orca does not send prompts, code or terminal contents to its own servers. It does collect anonymous usage events via PostHog Cloud (US). Turn this off in the privacy settings or set one of these environment variables:
DO_NOT_TRACK=1
ORCA_TELEMETRY_DISABLED=1
Your code still goes to the model provider of the agent you run, so the provider’s data terms apply. If you want to keep code on your own hardware, combine Orca with a local agent such as OpenCode; see our OpenCode vs Claude Code comparison and the Claude Code Router guide.
Common Problems
orcastarts a screen reader on Linux. Outside Orca’s own terminals,orcacan resolve to the GNOME Orca screen reader. Useorca-ideinstead.- Homebrew installs the wrong app.
brew install orcais an unrelated cask. Usestablyai/orca/orca. - Agents use up your quota quickly. Parallel agents consume subscription limits in parallel. Check Usage & Accounts in Orca before scaling up the number of tasks.
Conclusion
Orca IDE turns several terminal agents into a manageable team: one worktree per task, a review view for every change and a CLI that agents can use themselves. Install it, set the permission mode deliberately, start with two small parallel tasks and review every diff before you merge.
FAQ
Is Orca IDE free?
Yes. Orca is open source under the MIT license and free to use. You pay only for the agent subscriptions you connect, such as Claude or Codex.
Does Orca work on Windows?
Yes. There is a Windows 10/11 x64 installer, and the bundled orca CLI runs natively on Windows with PowerShell or CMD as the default shell.
Which agents does Orca support?
Claude Code, Codex, Gemini, GitHub Copilot, Cursor, OpenCode, Amp and many more. Any coding agent that runs in a terminal can be started in Orca.

Hi, I’m Mark, the author of Clever IT Solutions: Mastering Technology for Success. I am passionate about empowering individuals to navigate the ever-changing world of information technology. With years of experience in the industry, I have honed my skills and knowledge to share with you. At Clever IT Solutions, we are dedicated to teaching you how to tackle any IT challenge, helping you stay ahead in today’s digital world. From troubleshooting common issues to mastering complex technologies, I am here to guide you every step of the way. Join me on this journey as we unlock the secrets to IT success.