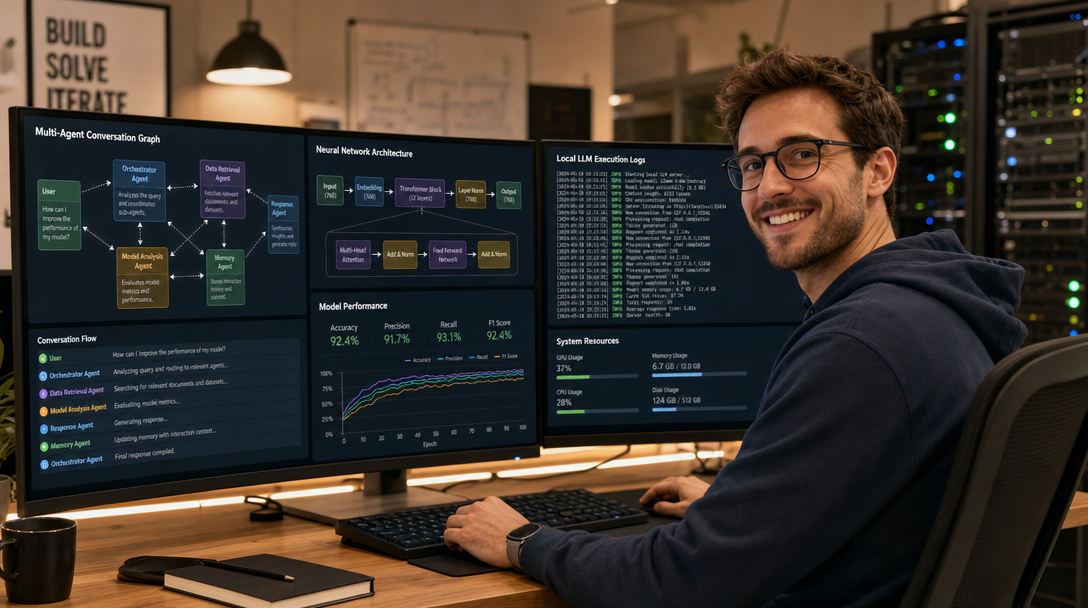
The paradigm of artificial intelligence has fundamentally shifted. While standard conversational interfaces rely on single prompt-and-response interactions, production-grade automated engineering demands multi-agent systems. In a multi-agent framework, autonomous AI personas—each equipped with specialized system prompts, tool access, and distinct domain expertise—collaborate, critique each other’s outputs, write code, execute scripts in sandboxed environments, and iterate until complex objectives are completed.
Microsoft’s AutoGen is one of the most flexible frameworks for orchestrating multi-agent conversations. However, building and testing agent topologies purely through raw Python code can be tedious. AutoGen Studio bridges this gap by providing an intuitive, browser-based graphical workspace where developers can declaratively configure agents, assemble team workflows, test sessions in an interactive playground, and manage custom Python execution skills. When paired with Ollama, you gain a 100% private, on-premises AI workforce powered by modern open-weights models like Qwen 2.5 Coder and Llama 3.3—completely free from cloud API token costs, rate limits, and external data leaks.
In this guide, you will learn how to deploy AutoGen Studio alongside Ollama using Docker Compose. We will configure GPU hardware acceleration, establish communication via Ollama’s OpenAI-compatible API, construct a collaborative multi-agent software engineering team, and enforce security guardrails on containerized code execution.
Architectural Overview: Local Multi-Agent Orchestration
The stack consists of two primary services communicating over an isolated Docker bridge network (ai_net), with an optional reverse proxy for secure access:
+-----------------------------------------------------------------------------------+
|                                 WEB BROWSER                                       |
|                    (AutoGen Studio UI at http://host:8081)                        |
+-----------------------------------------------------------------------------------+
                                          |
                                          | HTTP / WebSockets (Port 8081)
                                          v
+-----------------------------------------------------------------------------------+
|  DOCKER HOST: ai_net (172.28.0.0/16)                                              |
|                                                                                   |
|  +-----------------------------------------------------------------------------+  |
|  | Container 1: AutoGen Studio (autogen-studio:8081)                           |  |
|  | - Web UI & FastAPI Backend Engine                                           |  |
|  | - Agent Definitions, Skill Library & Team Workflows (SQLite Database)      |  |
|  | - Sandboxed Python Code Execution Subsystem                                |  |
|  +-----------------------------------------------------------------------------+  |
|                                         |                                         |
|                                         | OpenAI-Compatible API (Port 11434)      |
|                                         v                                         |
|  +-----------------------------------------------------------------------------+  |
|  | Container 2: Ollama Inference Server (ollama:11434)                         |  |
|  | - High-Performance GGUF Model Runner                                        |  |
|  | - NVIDIA Container Toolkit GPU Acceleration                                |  |
|  | - Models: qwen2.5-coder:14b, qwen2.5:32b, llama3.3:70b                     |  |
|  | - OpenAI Endpoint: http://ollama:11434/v1                                   |  |
|  +-----------------------------------------------------------------------------+  |
+-----------------------------------------------------------------------------------+
Because Ollama exposes a standard OpenAI-compatible completions endpoint at /v1, AutoGen Studio interacts with local open-weight models using the standard OpenAI client protocol. Agents can call local Python functions, execute shell commands, and generate plots without any external cloud connectivity.
Prerequisites and System Preparation
To run modern multi-agent models locally with acceptable token generation latency, your host server should ideally feature an NVIDIA GPU (RTX 3060 12GB, RTX 4070/4090, or enterprise A4000/A5000/L40S). If running on CPU only, assign at least 8 to 16 vCPUs and utilize quantized 7B or 14B models.
Verify that your host system has the NVIDIA Container Toolkit installed so Docker can access your GPU hardware:
nvidia-smi
docker run --rm --gpus all nvidia/cuda:12.4.1-base-ubuntu22.04 nvidia-smi
Create the project directory tree with persistent storage for Ollama model weights and AutoGen Studio workflows:
mkdir -p ~/autogen-ollama/ollama_data
mkdir -p ~/autogen-ollama/autogen_data
cd ~/autogen-ollama
Step 1: Dockerfile for AutoGen Studio
Because AutoGen Studio frequently receives updates and requires key scientific Python libraries (such as numpy, pandas, matplotlib, and plotly) for agent code execution, building a lightweight container image guarantees reproducibility.
Create Dockerfile in your project directory:
FROM python:3.11-slim

# Install system utilities and build dependencies
RUN apt-get update && apt-get install -y --no-install-recommends \
    build-essential \
    curl \
    git \
    && rm -rf /var/lib/apt/lists/*

# Set working directory
WORKDIR /app

# Upgrade pip and install AutoGen Studio with data analysis packages
RUN pip install --no-cache-dir --upgrade pip && \
    pip install --no-cache-dir \
    autogenstudio \
    pyautogen[openai] \
    pandas \
    numpy \
    matplotlib \
    plotly \
    requests \
    beautifulsoup4

# Expose web application port
EXPOSE 8081

# Default environment configuration
ENV AUTOGENSTUDIO_APPDIR=/app/data
ENV PYTHONUNBUFFERED=1

# Launch AutoGen Studio server
CMD ["autogenstudio", "ui", "--port", "8081", "--host", "0.0.0.0", "--appdir", "/app/data"]
Step 2: Production-Grade Docker Compose File
Create docker-compose.yml in ~/autogen-ollama/docker-compose.yml. This configuration connects Ollama and AutoGen Studio over an isolated bridge network, grants GPU access to Ollama, and persists all generated datasets and sessions:
services:
  ollama:
    image: ollama/ollama:latest
    container_name: ollama
    restart: unless-stopped
    ports:
      - "11434:11434"
    volumes:
      - ./ollama_data:/root/.ollama
    environment:
      - OLLAMA_KEEP_ALIVE=24h
      - OLLAMA_NUM_PARALLEL=2
      - OLLAMA_ORIGINS=*
    deploy:
      resources:
        reservations:
          devices:
            - driver: nvidia
              count: all
              capabilities: [gpu]
    networks:
      - ai_net
    healthcheck:
      test: ["CMD-SHELL", "curl -f http://localhost:11434/api/tags || exit 1"]
      interval: 15s
      timeout: 5s
      retries: 3
      start_period: 10s

  autogenstudio:
    build:
      context: .
      dockerfile: Dockerfile
    container_name: autogenstudio
    restart: unless-stopped
    depends_on:
      ollama:
        condition: service_healthy
    ports:
      - "8081:8081"
    volumes:
      - ./autogen_data:/app/data
    environment:
      - AUTOGENSTUDIO_APPDIR=/app/data
      - OPENAI_API_KEY=ollama
      - OPENAI_API_BASE=http://ollama:11434/v1
    networks:
      - ai_net
    healthcheck:
      test: ["CMD-SHELL", "curl -f http://localhost:8081/api/version || exit 1"]
      interval: 20s
      timeout: 5s
      retries: 3
      start_period: 20s

networks:
  ai_net:
    driver: bridge
Step 3: Bootstrapping Containers and Downloading Models
Build the AutoGen Studio image and start both services in detached mode:
docker compose up -d --buildOnce the containers are running, inspect their status to verify health checks:
docker compose psNow pull the target LLM into Ollama. For multi-agent coding and analytical reasoning, Qwen 2.5 Coder offers state-of-the-art capability among open weights. Pull the 14B parameter version (or the 32B model if you have 24GB+ VRAM):
# Pull the primary coding and reasoning model
docker exec -it ollama ollama pull qwen2.5-coder:14b

# Verify installed models
docker exec -it ollama ollama list
Step 4: Configuring Local Model Endpoints in AutoGen Studio
Access the AutoGen Studio interface by opening your browser and navigating to http://<DOCKER-HOST-IP>:8081.
- Click on the Build tab in the left-hand navigation sidebar.
- Select Models and click New Model in the top-right corner.
- Fill out the model configuration form:
- Model Name:
qwen2.5-coder:14b - API Key:
ollama(Ollama requires any non-empty string) - Base URL:
http://ollama:11434/v1 - Model Client Type:
OpenAIChatCompletionClient
- Model Name:
- Click Test Model. You should receive a green checkmark indicating successful communication between AutoGen Studio and the Ollama container.
- Click Save.
Step 5: Building a Collaborative Multi-Agent Team
Now that the model client is registered, build a collaborative agent team capable of autonomously writing, debugging, and executing data science scripts.
1. Configuring the Specialized Agents
Under the Build > Agents tab, verify or create the following two core agents:
- Primary Coder (AssistantAgent):
- Name:
Data_Engineer - Model:
qwen2.5-coder:14b - System Message:
You are an expert Python data engineer. When given an analytical task, write self-contained, clean Python code enclosed in ```python blocks. Ensure all libraries used are standard data science packages (pandas, numpy, plotly, requests). Explain your reasoning clearly. When your partner executes the code successfully and the final task is complete, reply with "TERMINATE".
- Name:
- Executor Proxy (UserProxyAgent):
- Name:
Local_Executor - Human Input Mode:
NEVER(allows fully autonomous execution) - Code Execution Config: Set Work Directory to
coding_workspace. Enable Use Docker or local execution mode. - System Message:
You are the local runtime executor. You receive code from Data_Engineer, execute it in the local environment, and report the standard output and any errors back to Data_Engineer for verification.
- Name:
2. Assembling the Team Workflow
Navigate to Build > Workflows and click New Workflow:
- Workflow Name:
Autonomous_Data_Engineering_Team - Workflow Type:
Two-Agent Chat (Round Robin)orGroup Chat - Sender:
Local_Executor - Receiver:
Data_Engineer - Summary Method:
Last Message
Step 6: Running an Interactive Session in the Playground
Switch to the Playground tab in the navigation bar and click New Session. Select your Autonomous_Data_Engineering_Team workflow.
Submit a hands-on technical prompt:
Fetch the current top 5 cryptocurrency prices from the CoinGecko public API, calculate their 24-hour price change percentage, and generate a clean Plotly HTML bar chart saved as 'crypto_report.html'. Display the final summary table in your response.Observe the multi-agent execution loop directly in the browser:
Data_Engineerformulates an HTTP request script usingrequestsandpandas, outputting the code block.Local_Executorintercepts the code block, executes it inside the container workspace, and feeds stdout back into the conversation.- If the script encounters a missing library or API rate limit,
Data_Engineerautomatically inspects the traceback, rewrites the logic, and resubmits the fix. - Upon successful generation of
crypto_report.html,Data_Engineeroutputs the markdown table and concludes withTERMINATE.
Security Hardening and Production Guardrails
Because AutoGen Studio executes arbitrary Python code generated by LLMs, you must apply strict isolation measures in production environments:
- Network Isolation: Do not expose port
8081directly to the public internet without an authentication layer. Place AutoGen Studio behind a reverse proxy (such as Caddy, Nginx, or Traefik) protected by Authelia, Authentik, or Cloudflare Access with Zero Trust policies. - Container Resource Limits: Set memory and CPU quotas in
docker-compose.ymlfor theautogenstudioservice to prevent rogue Python scripts (e.g., infinite loops or unbounded memory allocations) from starving the host system. - File System Boundaries: Maintain a dedicated volume for
AUTOGENSTUDIO_APPDIR. Never mount sensitive host paths (such as/var/run/docker.sockor host root directories) into the AutoGen container.
Troubleshooting Common Issues
1. “Connection error: Failed to connect to http://ollama:11434/v1”
Cause: AutoGen Studio cannot resolve the ollama container hostname, or the user mistakenly entered http://localhost:11434/v1 inside the container web UI.
Solution: Inside a Docker Compose bridge network, localhost refers to the AutoGen container itself, not the host machine. Always use the service name: http://ollama:11434/v1. Test inter-container connectivity by running: docker exec -it autogenstudio curl -I http://ollama:11434/api/tags.
2. Agents Stuck in an Infinite Conversation Loop
Cause: The assistant agent never outputs the exact termination string (e.g., TERMINATE), or the termination condition regex is misconfigured.
Solution: In the agent’s system message, explicitly emphasize: “Respond with ‘TERMINATE’ once the task is completely finished and verified.” Additionally, set a hard ceiling on conversation turns in your workflow configuration (e.g., Max Consecutive Auto Reply: 10) to prevent runaway execution.
3. Ollama CPU Fallback or Out of Memory Errors
Cause: The model exceeds available GPU VRAM, forcing layers to offload onto system RAM and dramatically reducing inference throughput.
Solution: Check GPU memory consumption with nvidia-smi while the model is loaded. If VRAM is exhausted, switch from 32B/70B models to smaller, highly capable quantized models such as qwen2.5-coder:14b-instruct-q4_K_M, or reduce Ollama’s context window by setting num_ctx 8192 in a custom Modelfile.
Conclusion
Deploying AutoGen Studio with Ollama delivers a complete, sovereign AI engineering laboratory straight to your homelab or private cloud server. By combining Microsoft AutoGen’s multi-agent conversational mechanics with Ollama’s high-performance local inference, you can design, debug, and execute complex autonomous workflows without incurring SaaS subscription costs or exposing intellectual property to third-party APIs. With containerized environments and GPU acceleration configured, your local agents are equipped to tackle real-world development tasks with precision and privacy.

Hi, I’m Mark, the author of Clever IT Solutions: Mastering Technology for Success. I am passionate about empowering individuals to navigate the ever-changing world of information technology. With years of experience in the industry, I have honed my skills and knowledge to share with you. At Clever IT Solutions, we are dedicated to teaching you how to tackle any IT challenge, helping you stay ahead in today’s digital world. From troubleshooting common issues to mastering complex technologies, I am here to guide you every step of the way. Join me on this journey as we unlock the secrets to IT success.