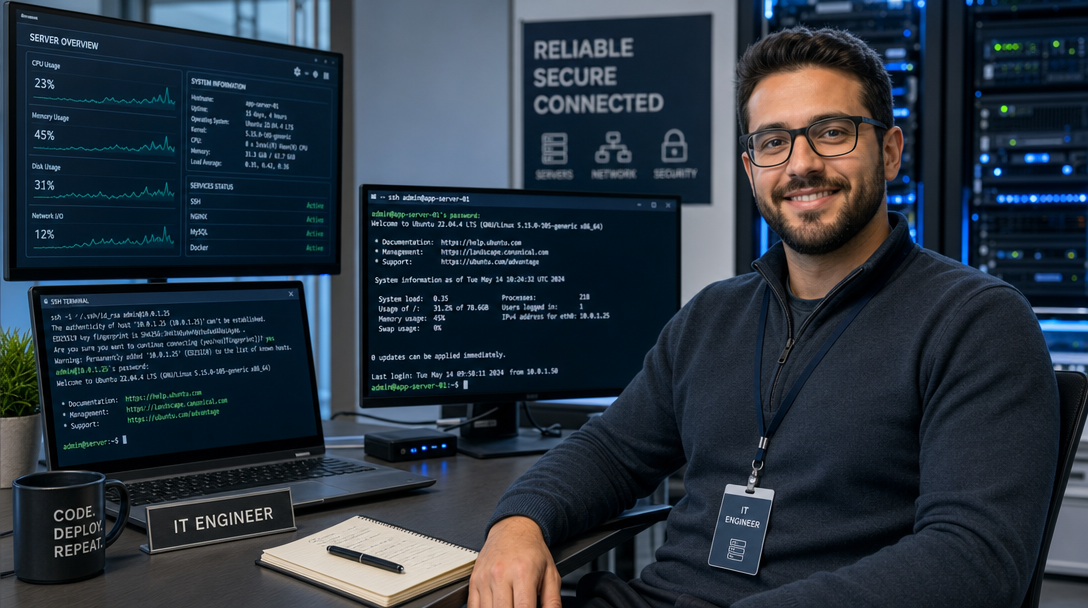
An SSH key is an access credential used in the Secure Shell (SSH) network protocol to securely authenticate users and automated systems to remote Linux servers without transmitting passwords over the wire. Instead of relying on vulnerable text passwords that can be intercepted or brute-forced, SSH authentication uses asymmetric cryptography based on a mathematically linked pair of cryptographic keys: a private key that stays securely on your local client machine, and a public key that you place on the remote server. Understanding what is an ssh key and how it secures remote infrastructure is fundamental for any system administrator, DevOps engineer, or homelab enthusiast.
The Core Concept: How Public-Key Cryptography Works
At the center of SSH authentication lies public-key (asymmetric) cryptography. Unlike symmetric encryption—where the same secret passphrase is used to both encrypt and decrypt data—asymmetric cryptography generates two distinct mathematical keys that operate in tandem:
- The Private Key (
id_ed25519orid_rsa): This key must remain strictly confidential. It resides exclusively on your local workstation, laptop, or bastion host. It is never transmitted across the network, never shared with third parties, and should always be encrypted at rest with a strong passphrase. If someone gains unauthorized access to your private key, they can impersonate you across every server that trusts your matching public key. - The Public Key (
id_ed25519.puborid_rsa.pub): This key is designed to be shared openly. You place it onto any remote server, cloud instance, container host, or Git platform you wish to access. The public key contains mathematical instructions that allow the remote server to verify cryptographic signatures generated by your private key, but it cannot be reverse-engineered to reconstruct the private key.
The SSH Authentication Handshake Explained
When you initiate an SSH connection to a remote server (for example, by typing ssh user@server.example.com), the client and server negotiate identity using a challenge-response verification mechanism. The private key never leaves your local computer during this exchange. Here is how the authentication handshake executes under the hood:
- Session Key Negotiation: Before authentication begins, the client and server establish an encrypted communication channel using a Diffie-Hellman key exchange and verify the server’s host identity to prevent man-in-the-middle attacks.
- Public Key Proposal: The SSH client notifies the server of the public keys available on the local machine for the requested user account.
- Authorized Key Check: The server inspects its local
~/.ssh/authorized_keysfile. If the client’s public key is found in that list, the server prepares a cryptographic challenge. - Cryptographic Challenge: The server generates a random string (a nonce), combines it with the established session identifier, and asks the client to sign this data payload using its private key.
- Signature Verification: The client signs the challenge data with its local private key and transmits the digital signature back to the server.
- Access Granted: The server uses the stored public key to mathematically verify the digital signature. If the signature matches the challenge and the public key, the server authenticates the user and opens a secure shell session.
SSH Key Algorithms: Ed25519 vs RSA vs ECDSA
Over the evolution of the OpenSSH protocol, several cryptographic algorithms have been implemented to generate key pairs. Choosing the right algorithm determines both the security margin and the performance of your connections.
| Algorithm | Key Length | Security Level | Performance | Recommendation |
|---|---|---|---|---|
| Ed25519 | 256 bits | Very High (Edwards-curve EdDSA) | Extremely Fast | Standard Choice (Recommended) |
| RSA | 3072 / 4096 bits | High (Integer factorization) | Moderate / Slower | Legacy fallback only |
| ECDSA | 256 / 384 / 521 bits | Moderate (NIST curves) | Fast | Avoid (NIST curve concerns) |
| DSA | 1024 bits | Broken / Obsolete | Slow | Deprecated (Do not use) |
Today, Ed25519 is the industry standard for SSH keys. Introduced to OpenSSH in version 6.5, Ed25519 is based on the Curve25519 elliptic curve. It delivers bulletproof security roughly equivalent to a 3000-bit RSA key while requiring only a tiny 256-bit key length. Because of this compact size, Ed25519 keys generate faster signatures, prevent side-channel timing attacks, and fit easily into configuration management tools without line-wrapping issues.
RSA keys with a minimum length of 3072 or 4096 bits remain widely supported on legacy Unix appliances, but OpenSSH has disabled the older SHA-1 hashing algorithm for RSA by default due to collision vulnerabilities. DSA (Digital Signature Algorithm) is completely deprecated and rejected by modern OpenSSH releases.
How to Generate and Deploy an SSH Key Pair
Setting up SSH key authentication requires only two straightforward steps: generating the key pair on your client machine and copying the public key to your target remote host.
Step 1: Generate an Ed25519 Key Pair
Open your local terminal (Linux, macOS, or Windows PowerShell) and run the ssh-keygen command:
ssh-keygen -t ed25519 -C "admin@example.com"The command prompt will ask you where to save the key file. Press Enter to accept the default location (~/.ssh/id_ed25519). Next, you will be prompted to enter a passphrase. While you can leave this blank for completely unattended automation scripts, you should always protect your interactive personal keys with a strong passphrase.
After completion, list your ~/.ssh directory to inspect the generated files:
ls -la ~/.ssh/id_ed25519*You will see two files: id_ed25519 (your secret private key) and id_ed25519.pub (your public key).
Step 2: Copy the Public Key to Your Remote Server
The easiest and safest way to install your public key onto a remote server is using the built-in ssh-copy-id utility:
ssh-copy-id -i ~/.ssh/id_ed25519.pub debian@192.168.1.50Enter the user’s remote password once. The utility automatically connects to the server, creates the ~/.ssh directory with proper permissions if it does not already exist, and appends the contents of your public key into ~/.ssh/authorized_keys.
If your client environment does not have ssh-copy-id (such as vanilla Windows command line), you can manually append the public key over SSH:
cat ~/.ssh/id_ed25519.pub | ssh debian@192.168.1.50 "mkdir -p ~/.ssh && chmod 700 ~/.ssh && cat >> ~/.ssh/authorized_keys && chmod 600 ~/.ssh/authorized_keys"Step 3: Test and Enforce Key-Based Authentication
Test connecting to the server using your new key:
ssh debian@192.168.1.50If you set a passphrase, your local system will prompt for it. Once verified, disable password authentication on the remote server to eliminate brute-force attack vectors entirely. Edit /etc/ssh/sshd_config (or create a drop-in file in /etc/ssh/sshd_config.d/99-hardened.conf) on the server:
PasswordAuthentication no
KbdInteractiveAuthentication no
PubkeyAuthentication yes
Reload the SSH daemon to apply the new hardening rules:
sudo systemctl reload sshdCritical File Permissions and Common Pitfalls
The OpenSSH daemon enforces strict permission checks on the ~/.ssh directory and key files. If permissions are too open, the SSH server will refuse public key authentication and fall back to password prompts (or reject the connection if password logins are disabled).
- Local Private Key: Must be readable only by the owner:
chmod 600 ~/.ssh/id_ed25519. - Local and Remote
.sshDirectory: Must have read, write, and execute permissions restricted to the owner:chmod 700 ~/.ssh. - Remote
authorized_keysFile: Must be accessible only by the owning account:chmod 600 ~/.ssh/authorized_keys. - Remote User Home Directory: Must not be writable by group or other users (e.g., permissions should be
755or700).
Real-World Integration: Git, Homelabs, and Secrets Management
SSH keys extend far beyond plain interactive terminal sessions. In self-hosted infrastructure and modern DevOps environments, SSH keys are the backbone of secure automation:
- Git Repository Authentication: When collaborating on code repositories or self-hosted platforms like Forgejo, developers push and pull commits via SSH. To learn how to deploy an independent Git forge that utilizes SSH key authentication for code repositories, see our guide on how to self-host Forgejo with Docker Compose and Caddy.
- Automated PKI and Host Certificates: In larger enterprise environments, managing individual authorized_keys files across hundreds of servers becomes cumbersome. Modern architectures use Certificate Authorities (CAs) to issue short-lived SSH user and host certificates. Check out our tutorial on how to deploy Step-CA with Docker Compose to establish automated private certificate management.
- Secrets and Credential Storage: Managing deployment keys, API tokens, and access credentials across staging and production fleets requires centralized governance. To protect and orchestrate sensitive infrastructure parameters, explore our walkthrough on how to deploy Infisical in Docker Compose for secrets management.
Frequently Asked Questions (FAQ)
What is a ssh key pair versus a single key?
An SSH key is never a standalone entity; it is always generated as an asymmetric key pair. The pair consists of the private key (retained secretly on your client machine) and the public key (copied to remote servers). The two keys are mathematically tied so that cryptographic challenges created by one can only be verified or solved by the other.
Can someone compromise my server if they see my public SSH key?
No. Public SSH keys are explicitly designed to be public knowledge and can be safely shared across the internet, hosted on public GitHub profiles, or posted in configuration repositories. A public key cannot be used to log into a server by itself, nor can an attacker derive your private key from it.
Why should I use Ed25519 instead of standard RSA keys?
Ed25519 keys use modern elliptic-curve mathematics, offering superior cryptographic security compared to legacy RSA algorithms while using much smaller key lengths (256 bits vs 4096 bits). They are faster to generate, resist timing attacks, and avoid the security pitfalls of outdated SHA-1 signatures used in older RSA implementations.

Hi, I’m Mark, the author of Clever IT Solutions: Mastering Technology for Success. I am passionate about empowering individuals to navigate the ever-changing world of information technology. With years of experience in the industry, I have honed my skills and knowledge to share with you. At Clever IT Solutions, we are dedicated to teaching you how to tackle any IT challenge, helping you stay ahead in today’s digital world. From troubleshooting common issues to mastering complex technologies, I am here to guide you every step of the way. Join me on this journey as we unlock the secrets to IT success.