In our earlier guide on installing a single-node K3s cluster on Ubuntu, we transformed a standalone server into a fully operational, lightweight Kubernetes control plane. While a single-node setup is ideal for local testing, development sandboxes, and low-priority edge gateways, running production services on a single physical host reintroduces a fatal single point of failure (SPOF). When CPU usage spikes, RAM exhausts, or a physical motherboard fails, all containerized workloads immediately collapse.
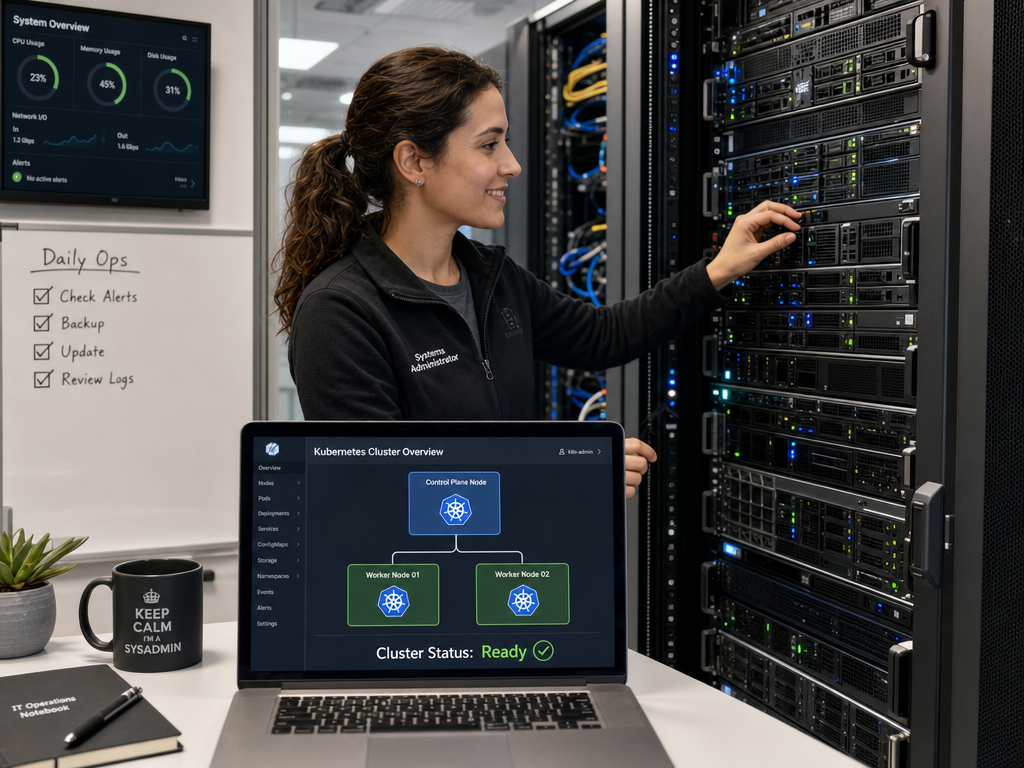
To unlock the true power of Kubernetes orchestration, you must scale horizontally into a multi-node K3s cluster. By attaching dedicated worker nodes (known as K3s Agents) to your central control plane (the K3s Server), you distribute compute and memory demands across multiple physical machines. Furthermore, as demonstrated in our guide on deploying Longhorn on K3s, having multiple physical worker nodes is the fundamental prerequisite for synchronous data replication and automatic volume failover.
In this comprehensive hands-on tutorial, you will learn step-by-step how to extract your server node join token, prepare firewall and overlay networking (Flannel VXLAN), join Linux worker nodes to the cluster, assign custom node labels and roles, and manage workload scheduling with taints and tolerations.
Understanding the K3s Multi-Node Architecture
Unlike traditional Kubernetes (kubeadm) deployments—which require orchestrating dozens of separate binaries including kube-apiserver, kube-scheduler, kube-controller-manager, etcd, kubelet, and kube-proxy—Rancher designed K3s as a single, lightweight binary. According to the Official K3s Multi-Node Documentation, a multi-node cluster consists of two distinct roles:
- Server Node (Control Plane): Runs the embedded SQLite/etcd datastore, Kubernetes API server, scheduler, controller manager, and the local tunnel proxy. It listens on port
6443for inbound agent registrations and cluster API traffic. - Agent Node (Worker): Runs only the
k3s-agentprocess, an embedded containerd runtime instance, and thekubelet. Agents maintain an outbound secure TLS tunnel to the server node, pulling pod specifications and reporting hardware metrics without requiring local datastore overhead. - Overlay Network (Flannel CNI): By default, K3s provisions Flannel using VXLAN encapsulation on UDP port
8472, providing seamless cross-node pod-to-pod networking across private subnets.
Prerequisites & Network Preparation
Before connecting nodes together, ensure your infrastructure satisfies these foundational requirements:
- Server Node: A running K3s control-plane server (Ubuntu 22.04/24.04 or Debian 12) with a static local IP address (e.g.,
192.168.1.100). - Worker Node(s): One or more dedicated bare-metal servers, Intel NUCs, or virtual machines running clean Linux installations with unique hostnames (e.g.,
k3s-worker-01,k3s-worker-02). - Network Connectivity: Unrestricted bidirectional communication between the server and worker nodes on local subnets.
Ensure that host firewalls (such as UFW) allow the required K3s communication ports. On the Server Node, open the API server and VXLAN overlay ports:
# On the K3s Server Node
sudo ufw allow 6443/tcp comment "K3s supervisor and API server"
sudo ufw allow 8472/udp comment "Flannel VXLAN overlay network"
sudo ufw allow 10250/tcp comment "Kubelet metrics"
sudo ufw reload
On each Worker Agent Node, allow Flannel VXLAN and kubelet metrics:
# On each K3s Worker Node
sudo ufw allow 8472/udp comment "Flannel VXLAN overlay network"
sudo ufw allow 10250/tcp comment "Kubelet metrics"
sudo ufw reload
Step 1: Retrieving the Cluster Join Token from Server
To authenticate worker nodes securely, K3s generates a cryptographic pre-shared key during control-plane initialization. Log into your Server Node and read the node token from /var/lib/rancher/k3s/server/node-token:
sudo cat /var/lib/rancher/k3s/server/node-tokenThe token format resembles:
K10b54e7f8a92c3d4e5f6a7b8c9d0e1f2a3b4c5d6e7f8a9b0c1d2e3f4a5b6c7d8e9::server:a1b2c3d4e5f67890abcdef1234567890Copy this entire string. Store it securely in your password manager, as any machine possessing this token can join your cluster as an execution node.
Step 2: Installing K3s Agent on the Worker Node
Now, connect via SSH to your first prospective worker machine (e.g., k3s-worker-01). First, confirm that the node possesses a unique hostname:
hostnamectl statusIf two nodes share identical hostnames, K3s will collide when registering kubelet leases. If necessary, assign a unique name with sudo hostnamectl set-hostname k3s-worker-01.
Execute the official K3s installation script, supplying two mandatory environment variables: K3S_URL (the full HTTPS URL of your control plane on port 6443) and K3S_TOKEN (the token obtained in Step 1):
curl -sfL https://get.k3s.io | K3S_URL=https://192.168.1.100:6443 \
  K3S_TOKEN="K10b54e7f8a92c3d4e5f6a7b8c9d0e1f2a3b4c5d6e7f8a9b0c1d2e3f4a5b6c7d8e9::server:a1b2c3d4e5f67890abcdef1234567890" \
  sh -
When K3S_URL is present during installation, the installer automatically configures the systemd service as k3s-agent.service rather than the full control plane. Verify that the agent daemon started cleanly:
sudo systemctl status k3s-agent --no-pagerStep 3: Verifying Node Cluster Membership
Return to your Server Node (or your local development machine configured with your cluster’s kubeconfig) and query the cluster node list:
kubectl get nodes -o wideWithin 15 to 30 seconds, your newly attached worker node will appear in Ready state:
NAME            STATUS   ROLES                  AGE     VERSION        INTERNAL-IP     OS-IMAGE             KERNEL-VERSION
k3s-master-01   Ready    control-plane,master   14d     v1.30.4+k3s1   192.168.1.100   Ubuntu 24.04 LTS     6.8.0-40-generic
k3s-worker-01   Ready    <none>                 2m15s   v1.30.4+k3s1   192.168.1.101   Ubuntu 24.04 LTS     6.8.0-40-generic
Notice that the worker node currently has its ROLES listed as <none>. We will label it in the next step.
Step 4: Assigning Node Roles and Custom Labels
Labels allow the Kubernetes scheduler to place pods intelligently based on hardware capabilities, rack locations, or environmental tiers. First, assign the standard worker role label so your kubectl get nodes output reflects your topology:
kubectl label node k3s-worker-01 node-role.kubernetes.io/worker=workerIf this worker node possesses specialized hardware—such as an NVIDIA graphics card for running workloads like our Ollama K3s GPU deployment or high-speed NVMe storage—add descriptive metadata labels:
# Label worker node with specific hardware attributes
kubectl label node k3s-worker-01 hardware/disk-type=nvme
kubectl label node k3s-worker-01 environment=production
Workloads can now use nodeSelector in their deployment manifests to target this specific machine:
spec:
  nodeSelector:
    node-role.kubernetes.io/worker: worker
    hardware/disk-type: nvme
Step 5: Managing Workload Isolation with Taints and Tolerations
As documented in the Kubernetes Scheduling Guidelines, Taints allow a node to repel a set of pods unless those pods explicitly define a matching Toleration.
In smaller clusters, K3s allows application pods to run on the control-plane server node by default. If your cluster hosts critical control-plane services, you may want to prevent user applications from scheduling on the master node, reserving it exclusively for etcd, Traefik Ingress, and API processing:
# Prevent non-tolerating pods from running on the master node
kubectl taint nodes k3s-master-01 node-role.kubernetes.io/control-plane:NoSchedule
If you later wish to remove this taint and allow the master node to execute general workloads again, append a hyphen to the taint key:
kubectl taint nodes k3s-master-01 node-role.kubernetes.io/control-plane:NoSchedule-Step 6: Testing Cross-Node Overlay Networking
Before launching production databases, verify that Flannel VXLAN overlay networking facilitates seamless pod-to-pod communication across separate physical hosts.
Deploy a two-replica test deployment with anti-affinity to force pods onto separate nodes:
cat << 'EOF' | kubectl apply -f -
apiVersion: apps/v1
kind: Deployment
metadata:
  name: net-check
  namespace: default
spec:
  replicas: 2
  selector:
    matchLabels:
      app: net-check
  template:
    metadata:
      labels:
        app: net-check
    spec:
      affinity:
        podAntiAffinity:
          requiredDuringSchedulingIgnoredDuringExecution:
            - labelSelector:
                matchExpressions:
                  - key: app
                    operator: In
                    values:
                      - net-check
              topologyKey: "kubernetes.io/hostname"
      containers:
        - name: netbox
          image: busybox:1.36
          command: ["sleep", "3600"]
EOF
Inspect the running pods and identify their assigned node and pod IP addresses:
kubectl get pods -l app=net-check -o wideYou will see one pod running on k3s-master-01 (e.g., IP 10.42.0.15) and the second on k3s-worker-01 (e.g., IP 10.42.1.8). Ping the worker pod directly from inside the master pod:
# Execute ping across nodes through Flannel VXLAN
kubectl exec -it $(kubectl get pods -l app=net-check -o jsonpath='{.items[0].metadata.name}') -- ping -c 4 10.42.1.8
A successful ping output (0% packet loss, ~0.4ms latency) confirms that your Flannel VXLAN tunnel is healthy and routing encapsulated cluster packets flawlessly.
How to Cleanly Drain and Remove a Worker Node
When decommissioning a worker node or performing hardware upgrades, always follow the safe Kubernetes eviction workflow:
# 1. Cordon the node to prevent new pods from scheduling
kubectl cordon k3s-worker-01

# 2. Evict running pods safely to surviving nodes
kubectl drain k3s-worker-01 --ignore-daemonsets --delete-emptydir-data --force

# 3. Delete the node object from cluster state
kubectl delete node k3s-worker-01
Finally, on the worker machine itself, run the official uninstallation script to clean up containerd volumes and systemd units:
/usr/local/bin/k3s-agent-uninstall.shSummary & Next Steps
By connecting worker agent nodes with a cryptographic cluster token, you have successfully scaled your infrastructure from a single server into a genuine, highly resilient multi-node K3s cluster. Your applications can now leverage declarative pod scheduling, survive individual machine reboot cycles, and distribute heavy computing tasks across bare-metal compute pools.
With a multi-node topology active, you are now ideally positioned to deploy replicated persistent block storage across your worker fleet using our K3s Longhorn storage tutorial, or automate continuous cluster snapshots to S3.

Hi, I’m Mark, the author of Clever IT Solutions: Mastering Technology for Success. I am passionate about empowering individuals to navigate the ever-changing world of information technology. With years of experience in the industry, I have honed my skills and knowledge to share with you. At Clever IT Solutions, we are dedicated to teaching you how to tackle any IT challenge, helping you stay ahead in today’s digital world. From troubleshooting common issues to mastering complex technologies, I am here to guide you every step of the way. Join me on this journey as we unlock the secrets to IT success.