Commercial cloud AI chatbots like ChatGPT, Claude, and Gemini have transformed productivity, but they present significant data privacy risks and ongoing subscription costs for technical teams and privacy-conscious users. When you submit proprietary code, sensitive business spreadsheets, or personal notes to cloud services, your data is processed on remote infrastructure outside your perimeter.
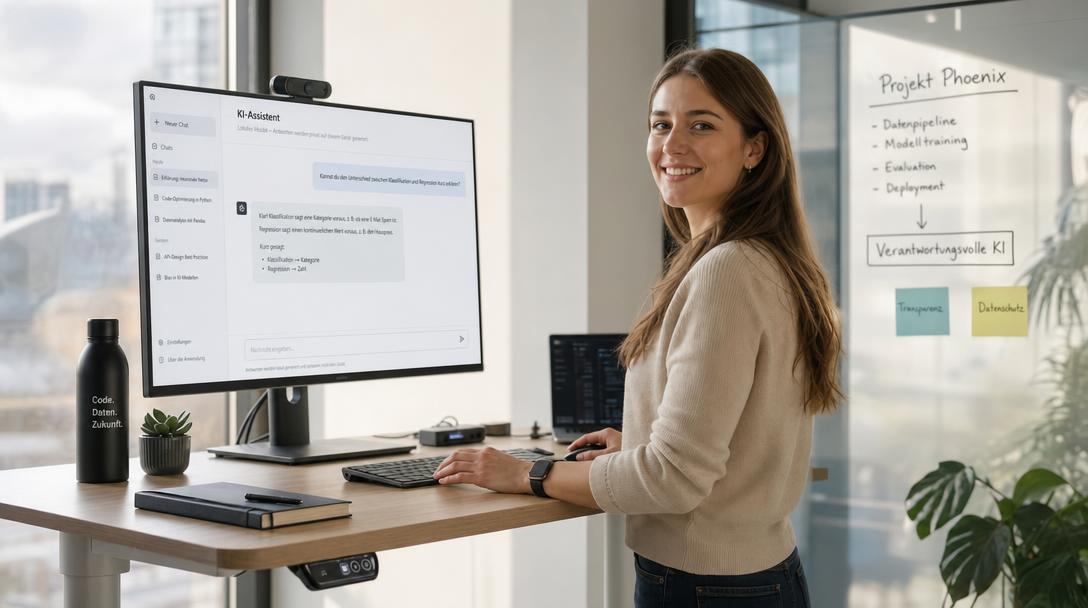
The open-source community has developed a compelling alternative: combining Ollama (the high-performance local model inference server) with Open-WebUI (formerly Ollama WebUI), a feature-rich, responsive web interface that replicates and often surpasses the ChatGPT user experience.
In this tutorial, you will learn how to orchestrate a production-ready, fully private AI chat platform on your own server or homelab using Docker Compose. We will configure seamless container networking, persistent storage for models and conversation history, role-based user management, and optional GPU passthrough.
Why Open-WebUI + Ollama is the Premier Self-Hosted Stack
Running Ollama solely via the command line is great for quick terminal experiments, but lacks the collaborative interface modern users expect. Open-WebUI bridges this gap by providing:
- Familiar Chat Experience: Full Markdown rendering, syntax highlighting for code blocks, LaTeX math support, and streaming responses.
- Granular Model Management: Download, update, switch, and delete models directly from the web interface without touching terminal commands.
- Document Ingestion & RAG: Built-in semantic search over uploaded PDFs, Markdown files, and text documents.
- Multi-User Collaboration: Role-Based Access Control (Admin vs. User), user invitation systems, and isolated chat histories.
- Extensibility: Support for web search engines (SearXNG, Google, DuckDuckGo), custom system prompts, and multi-modal models (vision models like LLaVA).
If you have an NVIDIA GPU, make sure you review our previous deep dive on running Ollama with NVIDIA GPU acceleration in Docker Compose to maximize your tokens per second before launching this multi-container stack.
Technical Prerequisites
Before deploying the stack, ensure you have:
- Host Environment: A Linux server or desktop running Ubuntu 22.04 / 24.04 LTS or Debian 12 / 13.
- Docker Engine & Docker Compose v2: Docker Engine 24.0+ with the
docker composeCLI plugin installed. - Hardware Sizing:
- CPU-only: Minimum 4 vCPUs and 16 GB of RAM (suitable for small 3B–8B quantized models).
- GPU-accelerated (Recommended): Dedicated NVIDIA GPU (RTX 3060 12GB, RTX 4070/4080, or enterprise cards) with the NVIDIA Container Toolkit installed.
- Storage: At least 30–50 GB of free NVMe or SSD disk space for storing model weights and chat databases.
Step 1: Planning Container Networking & Storage
When orchestrating Open-WebUI alongside Ollama in Docker, container communication is the most frequent stumbling block.
In single-container setups, tutorials often tell users to set OLLAMA_BASE_URL=http://host.docker.internal:11434. However, host.docker.internal requires special extra_hosts mappings on Linux. The cleanest, most secure, and production-grade approach is to place both containers onto a user-defined Docker bridge network. Within this isolated network, Open-WebUI can reach Ollama directly via its container hostname: http://ollama:11434.
We also must define two separate persistent host volumes:
ollama_data: Houses downloaded GGUF model weights in/root/.ollama.openwebui_data: Houses Open-WebUI’s internal SQLite database, user accounts, RAG vector embeddings, and session state in/app/backend/data.
Step 2: Creating the Project Directory and Compose File
Create a clean directory for your private chat stack:
mkdir -p ~/stacks/private-chat && cd ~/stacks/private-chatCreate a file named docker-compose.yml and paste the following verified configuration, which follows the architecture laid out in the Open-WebUI Official Documentation and the Ollama Documentation:
services:
  ollama:
    image: ollama/ollama:latest
    container_name: ollama
    restart: unless-stopped
    ports:
      - "127.0.0.1:11434:11434"
    volumes:
      - ./ollama_data:/root/.ollama
    environment:
      - OLLAMA_KEEP_ALIVE=24h
      - OLLAMA_NUM_PARALLEL=4
    networks:
      - ai-network
    deploy:
      resources:
        reservations:
          devices:
            - driver: nvidia
              count: all
              capabilities: [gpu]

  open-webui:
    image: ghcr.io/open-webui/open-webui:main
    container_name: open-webui
    restart: unless-stopped
    ports:
      - "3000:8080"
    volumes:
      - ./openwebui_data:/app/backend/data
    environment:
      - OLLAMA_BASE_URL=http://ollama:11434
      - WEBUI_SECRET_KEY=change_this_to_a_random_secure_hex_key
      - DEFAULT_MODELS=llama3.1:8b
      - ENABLE_SIGNUP=true
    depends_on:
      - ollama
    networks:
      - ai-network

networks:
  ai-network:
    driver: bridge
Step 3: Understanding Crucial Configuration Directives
Let’s dissect the essential parameters in this configuration:
1. Network Binding & Security
ports: - "127.0.0.1:11434:11434"for Ollama: We bind Ollama strictly to127.0.0.1on the host. This prevents unauthenticated users on your local network from directly querying Ollama’s raw REST API, forcing all user traffic through Open-WebUI’s authentication layer.ports: - "3000:8080"for Open-WebUI: Maps the container’s internal port 8080 to host port 3000. You will access your chat interface athttp://your-server-ip:3000.
2. Environment Variables
OLLAMA_BASE_URL=http://ollama:11434: Informs Open-WebUI where to find the inference backend. Because both containers shareai-network, Docker’s internal DNS resolvesollamadirectly to the correct container IP.WEBUI_SECRET_KEY: A persistent cryptographic key used to sign session cookies and JWT tokens. Replace the placeholder with a secure 32-character hex string generated viaopenssl rand -hex 32. If omitted, Open-WebUI regenerates a random key on every container restart, which logs all active users out.ENABLE_SIGNUP=true: When deploying for the first time, keep this set totrueso you can register your initial admin account. After creating your account, you can change this tofalseto block unauthorized public signups.
Step 4: Launching the Stack
Generate your secret key and launch the services in background mode:
# Generate a secret key
export RANDOM_SECRET=$(openssl rand -hex 32)
sed -i "s/change_this_to_a_random_secure_hex_key/$RANDOM_SECRET/" docker-compose.yml

# Start the stack
docker compose up -d
Monitor container initialization with docker compose logs:
docker compose logs -fYou should observe Ollama initializing its listening socket on port 11434, followed by Open-WebUI completing database migrations and launching its ASGI server on port 8080.
Step 5: Initial Setup & Admin Account Creation
- Open your web browser and navigate to:
(Or replacehttp://localhost:3000localhostwith your server’s LAN IP address). - You will be greeted by the Open-WebUI welcome screen. Click Sign Up.
- Important: The first user account registered automatically receives Admin privileges. Enter your name, email, and a strong master password.
- Once logged in, navigate to Admin Panel > Settings > General:
- If this instance is only for yourself or a closed team, toggle Enable New Signups to
OFF. - You can manage pending user access or generate invite links directly from this dashboard.
- If this instance is only for yourself or a closed team, toggle Enable New Signups to
Step 6: Pulling Models Directly from Open-WebUI
One of Open-WebUI’s standout features is that you do not need terminal access to install new LLMs.
- In the top-right corner, click on your profile picture and open Admin Panel > Settings > Connections.
- Verify that the Ollama connection status indicates
Connected to http://ollama:11434. - Go to Settings > Models or click on the model selector at the top of the main chat window.
- In the Pull a model from Ollama.com field, enter a model tag:
llama3.1:8b(Meta’s versatile 8-billion parameter model)deepseek-r1:8b(Specialized reasoning model)qwen2.5-coder:7b(High-performance code generation model)
- Click the Download (Pull) icon. Open-WebUI will stream download progress in real-time. The weights are automatically persisted in
./ollama_data/models.
Step 7: Testing Chat, Code Execution, and Vision
Once your model has finished downloading, click New Chat:
- Select your downloaded model from the dropdown.
- Send a query with Markdown formatting:
Write a Python script that calculates prime numbers using the Sieve of Eratosthenes, and explain the time complexity. - Observe the response: Open-WebUI displays formatted code with a one-click copy button, line numbers, and instant token generation speed.
If you download a multi-modal model like llava:7b or minicpm-v:latest, you can drag and drop images directly into the chat prompt to ask visual questions, extract text from receipts, or analyze system architecture diagrams.
Advanced Feature: Document Q&A (Local RAG)
Open-WebUI features an integrated Retrieval-Augmented Generation (RAG) engine powered by ChromaDB.
- In any chat window, click the + (Attach Document) paperclip icon or drag in a PDF / text file.
- Open-WebUI automatically extracts text chunks, computes embeddings using Ollama’s local embedding pipeline (or a fast sentence-transformer model), and saves them in
./openwebui_data. - Ask specific questions about the document:
What are the server maintenance SLA terms outlined in section 4 of the attached contract?
The model will cite exact passages from your document while answering, without sending a single byte of your data to an external API.
Troubleshooting Common Issues
1. “WebUI: Server Connection Error” or Cannot Reach Ollama
- Symptom: Open-WebUI displays a red banner saying it cannot connect to Ollama.
- Fix: Ensure both containers are on
ai-network. From your host, rundocker compose exec open-webui curl -s http://ollama:11434/api/tags. If this command fails or times out, verify that the service name indocker-compose.ymlmatchesOLLAMA_BASE_URL=http://ollama:11434.
2. Slow Response Times or Freezing
- Symptom: Responses take minutes to generate or stall mid-sentence.
- Fix: If running on CPU, ensure you are using smaller quantized models (like 3B or 7B Q4_K_M). If running on an NVIDIA GPU, verify that the
deploy.resources.reservations.devicesblock is active and that runningwatch nvidia-smion the host displays active VRAM allocation underollama_llama_server.
3. Logins Expire on Every Server Reboot
- Symptom: Users are repeatedly logged out whenever Docker restarts.
- Fix: You left
WEBUI_SECRET_KEYblank or unset. Specify a permanent 64-character hex key indocker-compose.ymlso session hashes remain consistent across container lifecycle events.
Conclusion & Next Steps
By combining Open-WebUI and Ollama within a declarative Docker Compose structure, you now possess a private, self-contained AI platform that rivals commercial cloud services in both capability and aesthetics. All models, conversation histories, and embedded documents remain strictly under your control.
In our next DIY guide, we will explore how to take local document intelligence even further by constructing a specialized, multi-workspace RAG pipeline using AnythingLLM alongside local embedding vectors.

Hi, I’m Mark, the author of Clever IT Solutions: Mastering Technology for Success. I am passionate about empowering individuals to navigate the ever-changing world of information technology. With years of experience in the industry, I have honed my skills and knowledge to share with you. At Clever IT Solutions, we are dedicated to teaching you how to tackle any IT challenge, helping you stay ahead in today’s digital world. From troubleshooting common issues to mastering complex technologies, I am here to guide you every step of the way. Join me on this journey as we unlock the secrets to IT success.