Docker has become the backbone of modern infrastructure, powering everything from local homelabs to enterprise microservices. Yet, beneath its convenience lies a well-known security reality that keeps DevSecOps engineers awake at night: by default, the Docker daemon (dockerd) runs with full root privileges on the host system.
While containers utilize kernel namespaces and cgroups to isolate processes, a container process running as user ID 0 is fundamentally mapped to root on the host machine. If an attacker discovers a remote code execution (RCE) flaw in a web application and manages to break out of the container boundary (a container breakout vulnerability such as runC or kernel namespace exploits), they instantly inherit complete, unfettered root control over your entire host OS.
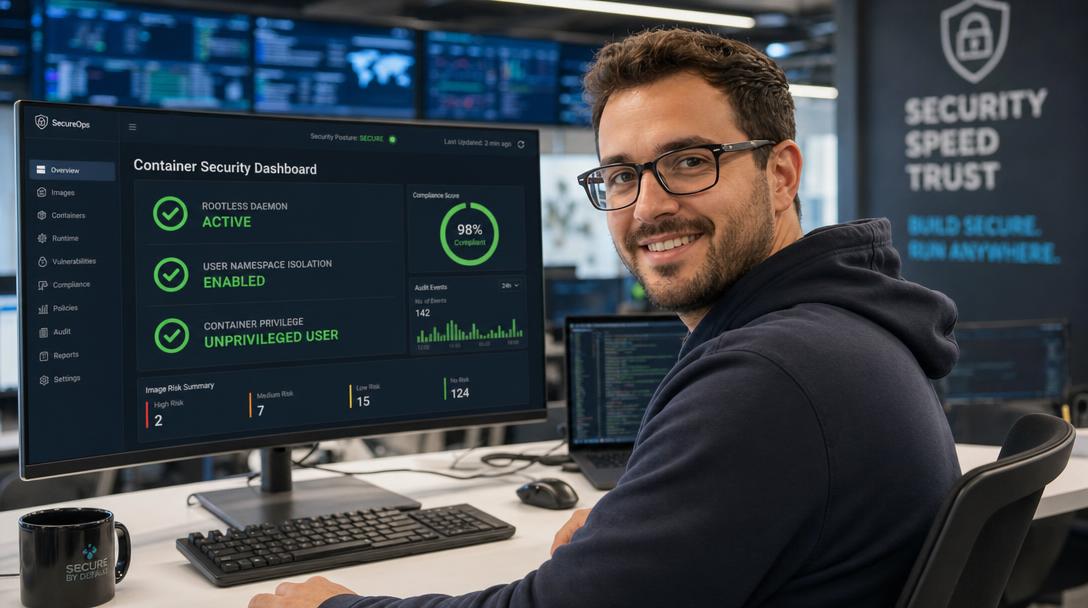
To eliminate this massive attack surface, Docker introduced Rootless Mode. Rootless Docker executes both the Docker daemon and user containers entirely within an unprivileged user namespace. Even if a containerized workload is thoroughly compromised and escapes, the attacker possesses only the limited permissions of a regular, unprivileged Linux account on the host—making host takeover impossible.
In this comprehensive guide, you will learn step-by-step how to configure and harden Docker in Rootless Mode on Ubuntu Server. We will cover subuid/subgid mapping, systemd user services for automatic startup on boot, handling low port bindings (ports 80 and 443), and orchestrating workloads alongside tools like Caddy and Restic.
Why Rootless Docker Matters: Defense-in-Depth
The CIS Docker Benchmark Guidelines strongly recommend mitigating root daemon execution whenever feasible. Here is how Rootless Mode alters your security posture:
- No Host Root Privileges: The
dockerd-rootless.shdaemon process runs under a standard user account (e.g., UID 1001). Adding users to the traditionaldockergroup is notoriously equivalent to giving them passwordless sudo. Rootless Docker completely removes this vulnerability. - Contained Breakouts: If a compromised container mounts host paths or exploits a zero-day vulnerability in the container runtime, the blast radius is strictly confined to the unprivileged user’s home directory. Core system binaries, kernel modules, and other users remain completely untouchable.
- Multi-Tenant Server Isolation: Different developers or teams can run independent, completely isolated Docker daemons on the exact same host without sharing state, socket access, or privileges.
Technical Prerequisites & Limitations
Before installing, ensure your host satisfies these prerequisites:
- Operating System: Ubuntu 22.04 LTS or Ubuntu 24.04 LTS.
- Dedicated User: A non-root system user account with sudo access for the initial setup.
- Known Trade-offs:
- Cgroups v2 resource limits (CPU/Memory limits) require systemd cgroup delegation.
- Binding to privileged ports (< 1024, such as 80 and 443) requires explicit sysctl configuration.
- AppArmor and certain storage drivers (such as older overlay) may require specific kernel support. Modern Ubuntu handles this natively via
fuse-overlayfsor native rootless overlay2.
Step 1: Installing Required Dependencies
Log in to your Ubuntu server as your standard user (we will assume a user named deployer) and install the necessary user-namespace utilities:
sudo apt update && sudo apt install -y \
    uidmap \
    dbus-user-session \
    fuse-overlayfs \
    slirp4netns \
    iptables
Verify that your user has subordinate UIDs and GIDs assigned in /etc/subuid and /etc/subgid:
grep $(whoami) /etc/subuid
grep $(whoami) /etc/subgid
You should see entries allocating a range of 65,536 subordinate IDs, for example: deployer:100000:65536. If missing, generate them with sudo usermod -v 100000-165535 -w 100000-165535 $(whoami).
Step 2: Disabling the System-Wide Root Docker Daemon (If Installed)
If you already had standard Docker installed on this machine, disable the system-wide service so it does not conflict with our rootless instance:
sudo systemctl disable --now docker.service docker.socketStep 3: Installing Docker Rootless
Execute the rootless installation script as your standard, unprivileged user, adhering strictly to the Docker Official Rootless Mode Documentation:
dockerd-rootless-setuptool.sh installThe setup script will verify user namespace support, configure a user-level systemd unit, and generate the unique socket path located at /run/user/<UID>/docker.sock.
Step 4: Configuring Environment Variables
To instruct the docker and docker compose CLI tools to communicate with your user daemon rather than the default system socket, add the environment variables to your shell profile:
cat << 'EOF' >> ~/.bashrc

# Docker Rootless Environment
export XDG_RUNTIME_DIR=/run/user/$(id -u)
export DOCKER_HOST=unix:///run/user/$(id -u)/docker.sock
EOF

source ~/.bashrc
Verify that your rootless Docker daemon is responding:
docker infoIn the command output, verify that the line Security Options lists rootless, confirming that the daemon is actively running inside a user namespace.
Step 5: Enabling Persistent Boot (Linger)
By default on Linux, user-level systemd services only run while that specific user is logged in via SSH. The moment you log out, your containers would stop. To ensure your Docker containers continue running 24/7 across server reboots, enable systemd **lingering** for your user:
sudo loginctl enable-linger $(whoami)Now, enable the user-level systemd service so it auto-starts at boot:
systemctl --user enable --now dockerStep 6: Allowing Privileged Port Binding (Ports 80 & 443)
Linux security prevents unprivileged users from binding services to network ports below 1024. If you attempt to launch an ingress proxy like Caddy or Nginx on ports 80 and 443, rootless Docker will throw a permission denied error.
To safely permit your unprivileged user to bind ports starting from 80, configure the kernel’s unprivileged port start value:
echo 'net.ipv4.ip_unprivileged_port_start=80' | sudo tee /etc/sysctl.d/99-rootless-docker.conf
sudo sysctl --system
Step 7: Testing with Docker Compose
Rootless Docker supports Docker Compose v2 seamlessly. Create a test stack to verify port binding on port 80:
cat << 'EOF' > docker-compose.yml
services:
  web:
    image: nginx:alpine
    container_name: rootless-nginx
    restart: unless-stopped
    ports:
      - "80:80"
EOF

docker compose up -d
Test the web server with curl -I http://localhost. It will respond with HTTP/1.1 200 OK. If you check the host process table with ps aux | grep nginx, you will notice that the Nginx worker processes are running under your non-root UID—proving complete isolation.
Troubleshooting Common Rootless Issues
1. Failed to connect to docker.sock
- Cause:
DOCKER_HOSTis unset or systemd user session is inactive. - Fix: Ensure
systemctl --user status dockeris active. Confirm thatecho $DOCKER_HOSToutputsunix:///run/user/1000/docker.sock.
2. Permission Denied on Bind Mounts
- Cause: User namespace mapping shifts UIDs. Inside the container, root (UID 0) maps to your host user’s UID (e.g. 1000). Other container UIDs (like 101 for nginx) map to subordinate IDs (e.g. 100100).
- Fix: Ensure host directories mounted into containers are owned by your host user (
chown -R $(whoami):$(whoami) ./data).
Conclusion
By transitioning your Ubuntu server to Rootless Docker, you have implemented a foundational defense-in-depth architectural shift. Even in the event of an unpatched container escape zero-day, your server’s kernel, root filesystem, and host credentials remain impervious to unauthorized access.

Hi, I’m Mark, the author of Clever IT Solutions: Mastering Technology for Success. I am passionate about empowering individuals to navigate the ever-changing world of information technology. With years of experience in the industry, I have honed my skills and knowledge to share with you. At Clever IT Solutions, we are dedicated to teaching you how to tackle any IT challenge, helping you stay ahead in today’s digital world. From troubleshooting common issues to mastering complex technologies, I am here to guide you every step of the way. Join me on this journey as we unlock the secrets to IT success.